|
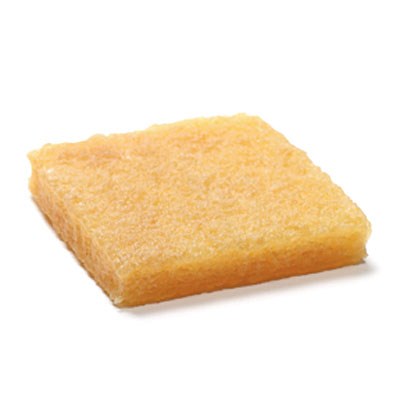
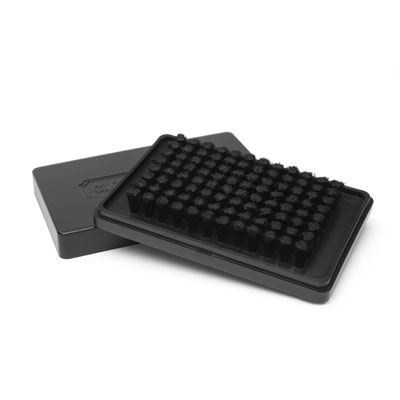
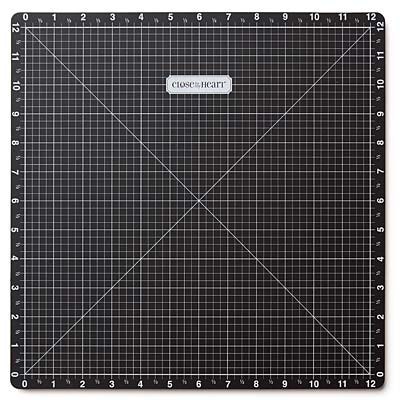
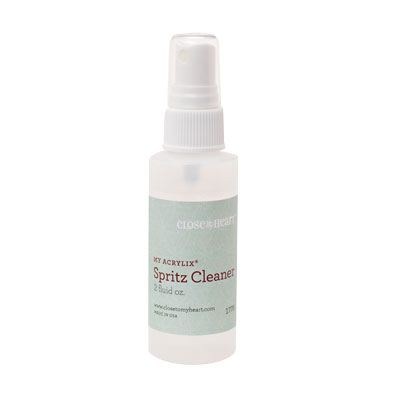
Follow these "4" simple steps to achieve perfectly stamped images right away. Don't worry, this information is included on the pamphlet inside your stamp's envelope. Step One: Using the side of your forefinger, gently loosen the stamped image on all sides, then slowly peel the stamp from its carrier sheet. (When using a stamp for the first time, it's recommended to *season your new stamp so it will pickup more ink to stamp evenly. Sometimes if you don't season your stamp you might experience ink beading up, and or portions of your image not stamping correctly. More information regarding seasoning your stamps is listed below.) Step Two: Center the image on the appropriately sized My Acrylix® Block. When using alphabet stamps, we recommend lining your stamps along the handy white line along the bottom of our exclusive clear blocks to achieve accurate stamp alignment. Step Three: Ink the stamp(s) with your preferred Exclusive Ink color. Look through your clear block to verify whether or not you have even ink saturation on your stamp(s). Re-ink if necessary. Step Four: Once you've decided on the desired location being stamped, apply even downward pressure on your block while watching the transfer of ink to paper. Make any necessary corrections in pressure by walking your fingers around the top of the block before lifting the stamp off your project. My Acrylix® clear stamps make it possible to re-stamp an image if you didn't press enough downward pressure, or achieve adequate ink saturation. 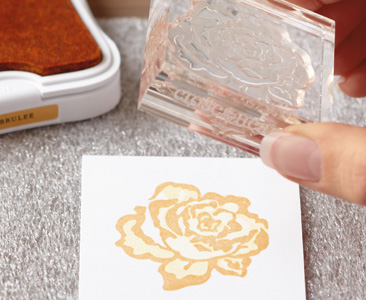 Seasoning is a process used to remove any residue that may lay on your My Acrylix® stamps during the manufacturing process. There are numerous ways to season a polymer stamp. Here are the two I've found to be effective: 1st Way: Ink your stamp. Then continuously stamp your image on a piece of paper until the (dye ink) color eventually fades out. Repeat this process 2-3 times. (Twist your wrist in a "left & right" motion the instant the stamp hits the paper to rub away any leftover residue.) 2nd Way: You can also season your stamps by rubbing the surface of the stamp with the Rub & Remove Eraser (Z1207). This will make the stamp have a slightly rougher texture, while helping the stamp absorb more ink. Afterwards, clean stamp using our My Acrylix® Stamp Scrubber (1778) paired with our My Acrylix® Spritz Cleaner" (1779) to scrub off any eraser particulates that may have gotten in between the fine lines of the stamp. Despite the spritz cleaner effectiveness--the cleaner is formulated to be gently on your My Acrylix® stamps. So I don't wash my stamps after using the stamp scrubber with the spritz cleaner. However, when using "Pigment Ink" I prefer to wash My Acrylix® stamps in warm, gentle soapy (Ivory/Dawn dis-washing soap) water after each use. Tips: For best results, stamp on a padded surface such as the VersaMat (Z1279), or the foam sheet included inside your stamp envelope; either one will ensure a crisper image while helping the ink distribute more evenly. When stamping large or multiple images, or designs requiring a large block--use the 7-3/4" x 10" foam pad included in the envelope every time to receive perfect results on the first try. The following 3 videos showcase these products pictured above. Not all clear stamps are created equal. Close To My Heart (CTMH) stamp sets reflect the production expertise, the variety of design, and materials that guarantee a superior stamp set that will deliver consistently beautiful, lasting artwork. The clear, decorative stamps are easy to use and store, offering complete creative control and artistic precision on all your projects. The following three areas explain the technical aspects as to why our CTMH My Acrylix® stamps are simply the best choice for clear polymer stamps available in the marketplace. Our Process: Close To My Heart began producing clear polymer stamps in 2003, one of the first to offer clear stamps on the market. We use state-of-the-art manufacturing equipment. Our team is expert in polymer work, and they know how to handle the materials through production, carefully controlling temperature, moisture, production speed, and the many other variables that affect quality. Our process also allows us to produce very finely detailed stamp designs that many manufacturer's cannot duplicate. Base-and-shape stamps, distressed designs, lace-style artwork, and even tiny script-fonts, to name a few, retain incredible clarity and details you won't find in most other clear stamps on the market. The depth and cut of the stamp grab the ink well, but minimize blurring and "fill-in." Such a labor-intensive process ensures our high quality standards. Our Material: While clear polymer is available from a variety of sources, there are many levels of durability, flexibility, and quality that may be initially indistinguishable to the human eye. As the leader in clear stamps, CTMH has continued to refine our materials and improve their performance and aesthetics, using the top grade of polymer produced today. We have put the polymer through rigorous testing including aging and environmental tests to ensure that the stamps you buy, with proper care, will last for years to come. Our stamps can be easily stretched, arched, or angled for a variety of different "looks" in artwork, whereas many other companies' products are stiff and rigid, with strong smell, too sticky or not sticky enough, and yellow easily within a few weeks of purchase. Our Design: With hundreds of "active" stamp sets at any time, CTMH has offered more then 4,000 individual designs in My Acrylix® clear stamps over the years. Many of these designs were created to complement each other, so customers can build a library of sets that coordinate in themes and sentiments. Our packaging is also unique to the market--not only does the flexible envelope protect the stamp inside, it allows for convenient storage, organization, and retrieval. Our unique carrier sheets include all designs already cut (many manufacturers require the purchaser to cut out the stamps), and make it easy to view the positive desig 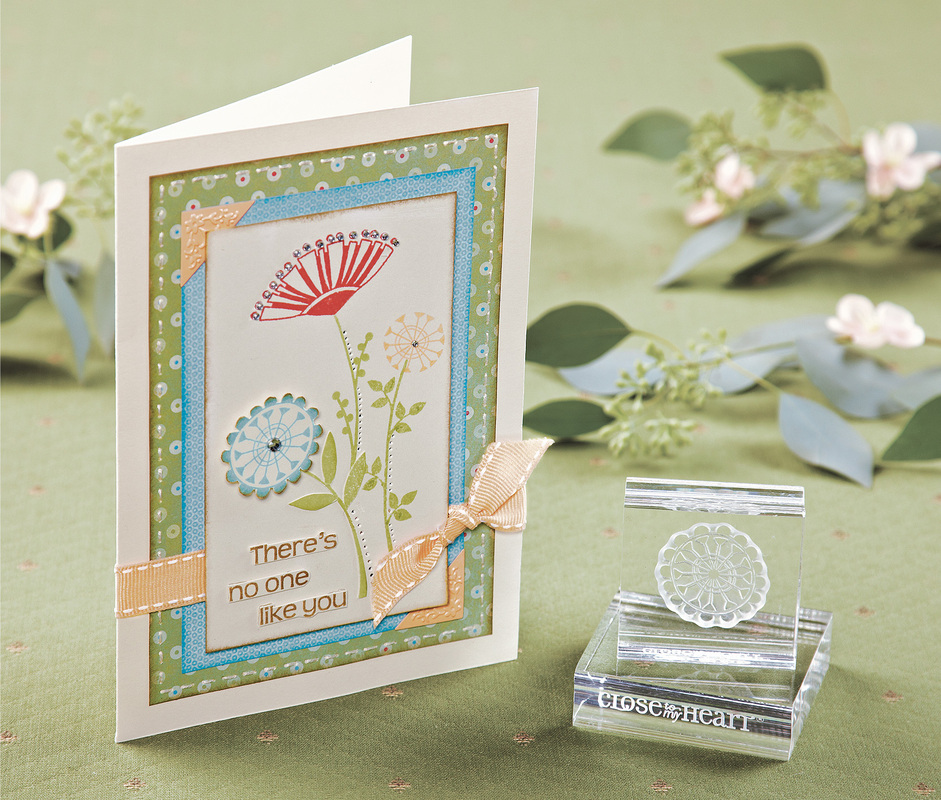 |
- Welcome to My Blog
-
Close To My Heart
- Annual Inspirations Idea Book & Catalog?
- New to "My Acrylix" Stamps?
- CTMH Cricut Cartridges >
- "Paper Collections," "Workshop On The Go" Scrapbook & Cardmaking Kits >
- New "Cut Above" Quick Kits
- Picture Perfect
- My Crush
- Picture My Life
- Base & Bling
- Mini Stamps
- Finishing Touches: Embellishments, Basics, Accessories, Tools, Organizations
- Promos/Constant Campaigns
- Stamp of the Month
- About Me
- Contact Me

 RSS Feed
