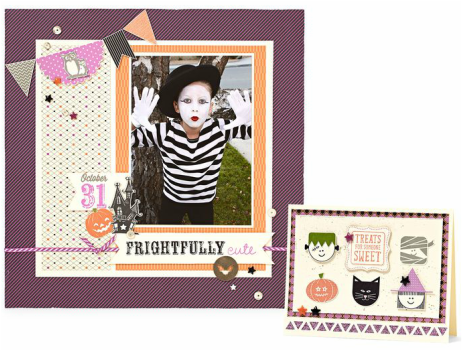
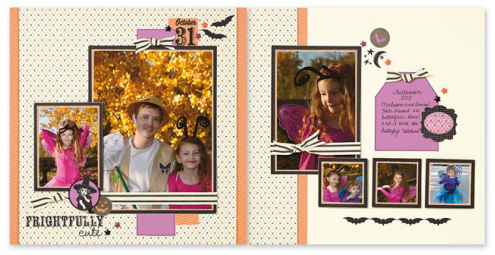
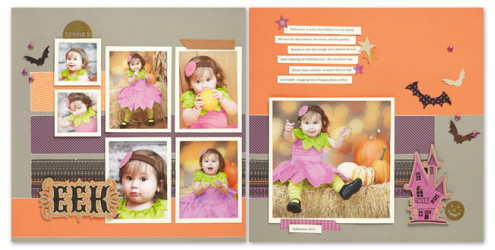
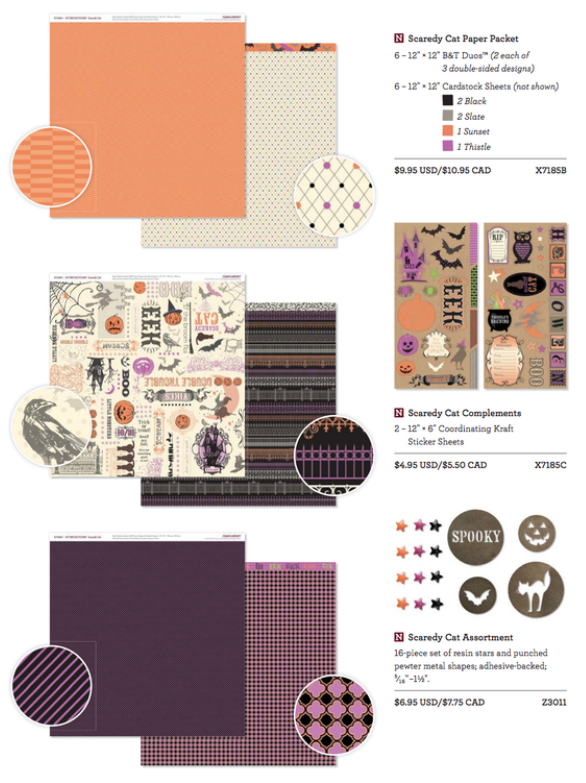
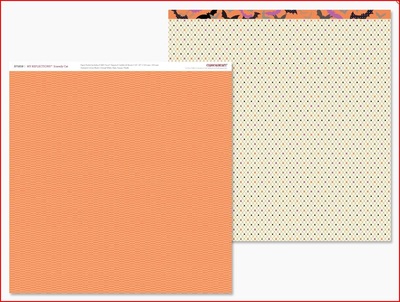
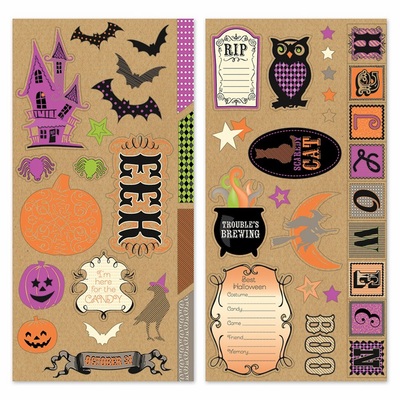
"Scaredy Cat" paper pack & embellishments are spooky enough to adorn your little devil's frightful Halloween photos.

|
"Scaredy Cat" paper pack & embellishments are spooky enough to adorn your little devil's frightful Halloween photos.
0 Comments
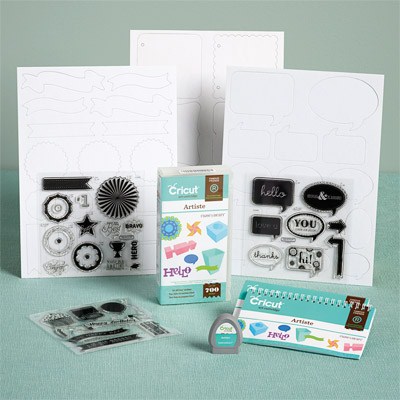
We all love home decor that screams creativity! Several of you have seen the adorable hats on page 38 of Annual Inspirations and have asked for instructions on how to recreate them. Below you’ll find step-by-step directions you can use with the Annual Inspirations recipes already provided to give your home a little more spook this season. Happy crafting! A fashonista's witch hat to die for... 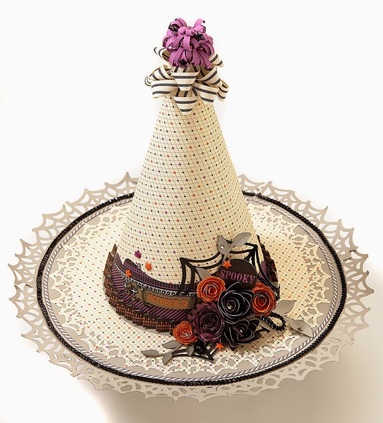 Use Artiste Cricut® cartridge to make following decorative items:
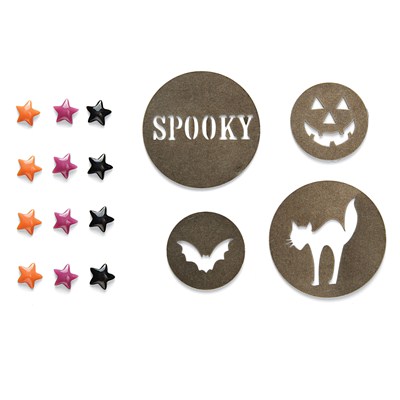
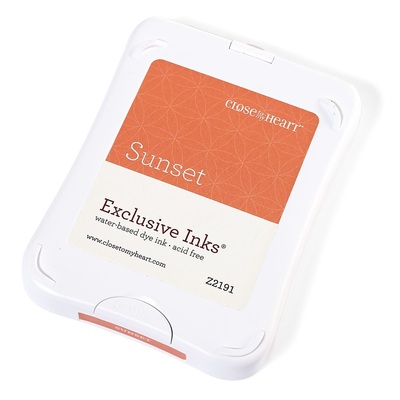
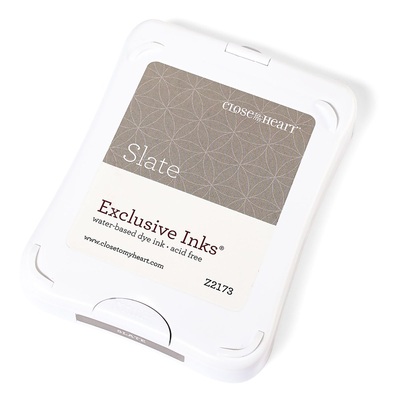
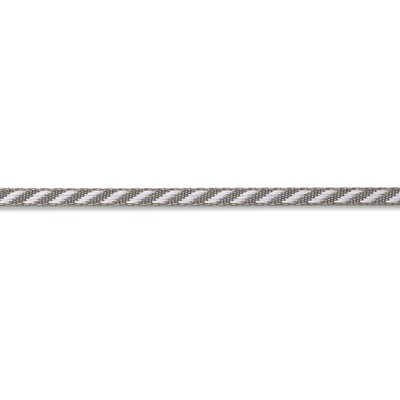
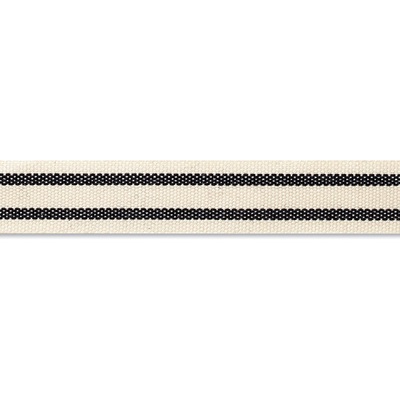
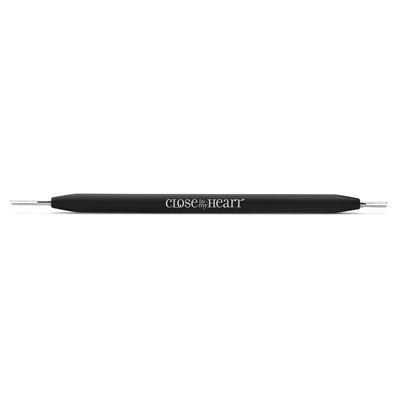
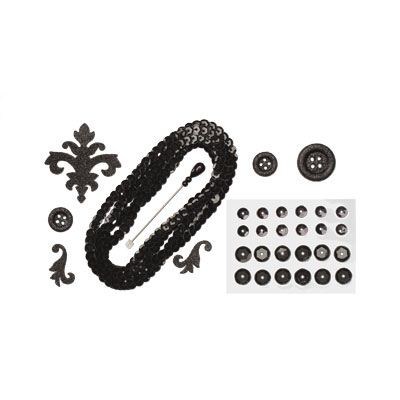
Cone and Base 1. Attach two sheets of 12" x 12" Scardy Cat B&T paper (X7185B) on top of two sheets of 12" x 12" cardstock. This double-sheet thickness is needed for extra stability in the cone of the hat. 2. Using tape, attach the two sheets of layered 12" x 12" papers together to form a 24" length. Ensure that edges are precisely aligned. 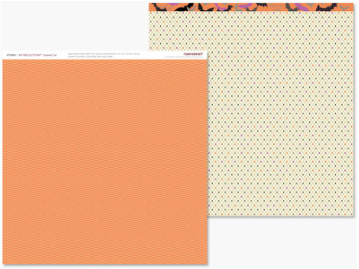 Click image to see Scaredy Cat paper pack and other related products. 3. Starting from one corner, roll the paper into a cone, adjusting to form your desired shape. Use a strong adhesive to hold it in place. Hats will measure differently according to how tight you roll your cone. 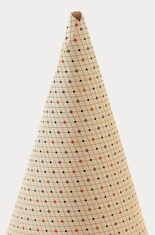 4. Cut the 11" circle to form the base of the hat. 5. Center the cone on the base and trace the bottom of cone onto circle shape. Trace another circle within the first, about a 1/2" smaller than the original. 6. Trim out innermost center circle, then use scissors to cut ½" slits approximately 1" apart around the entire outer circle to create tabs. Fold tabs upward. 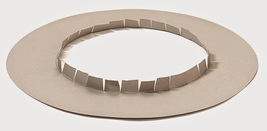 7. Staple, or adhere with a strong adhesive, the tabs into the cone, starting from where you would like the front of your hat to be. 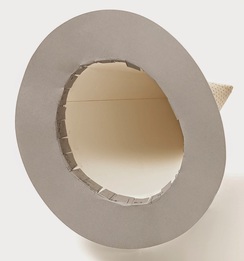 Edging 1. Cut out spiderweb cupcake liners and trim off the tabs. 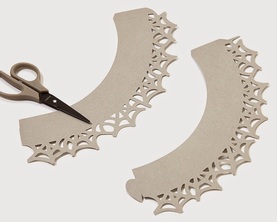 2. Attach four of the 2 ½" spiderweb liners underneath the base of circle so that the edges of the webs extend beyond the rim of the hat. 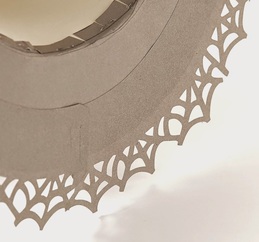 3. Attach the 2" spiderweb liners along the top of the hat’s brim against the inner edges, near the cone.  Decoration 1. Select where you would like the front of your hat to be and adhere the 2" banner to it. 2. Adhere 1 ¼" banners overlapping the larger banner around the bottom of the cone. 3. Cut several ½" strips of Scardy Cat B&T paper, pleat them, and attach them end to end on the bottom of the cone. 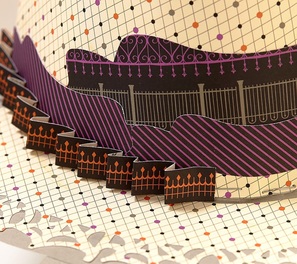 4. Cut out flowers, spiderweb, and vines from the Cricut® Artiste cartridge. 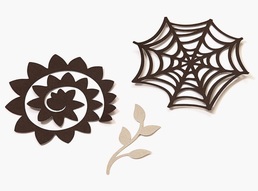 5. Use an embossing tool to mold the leaves of the branch shapes. Ink the edges with our Slate Exclusive ink™ using the sponge dauber. 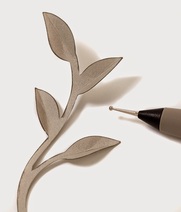 6. Ink the edges of the flowers in Thistle and Sunset using the sponge dauber. Using your quilling tool, roll the flowers, adhere them closed, and add Sparkles to the center of each as desired. 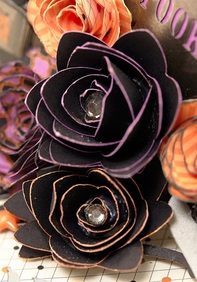 7. Attach the spiderweb to the side of the cone and layer the floral arrangement on top of it. 8. Back the “Spooky” metal shape from your Scaredy Cat Complements with Thistle cardstock and add it to the floral arrangement. 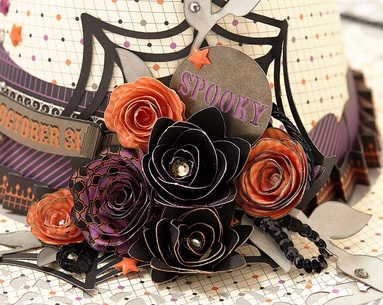 Top of Hat 1. Cut a 2" x 12" strip of Thistle cardstock. Cut a 1" notch every ¼". 2. Using your quilling tool, roll the strip until the solid edge is small enough to fit into the hole at the top of the cone. Adhere it so it cannot unroll. Make sure the roll is small enough to fit into the top of the cone. If needed, trim the tip of the hat to allow more space for the topper. 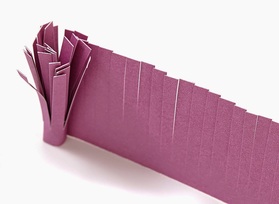 3. Fit the curled hat topper into the hole at the top of the hat and secure with adhesive. 4. Using your quilling tool, roll the ¼" strips downward into tight curls.  5. Cut the Black Striped Twill ribbon into 3" pieces, loop them, and adhere them individually to the top of the hat, arranging them in layers. 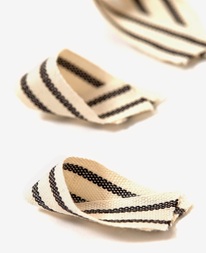 6. Add stars from the Scaredy Cat Assortment. 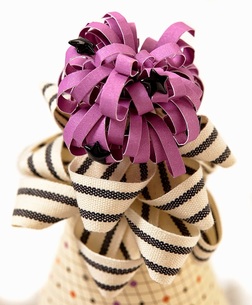 Embellishment Embellish your hat with the Scaredy Cat Assortment, sequins from the Mini-Medley Accents black collection, Slate diagonal striped ribbon, or other accents of your choice. All supplies used: |
ArchivesCategories |


 RSS Feed
